I still remember the first time I baked banana bread with my grandmother. Her kitchen smelled like sweet nostalgia—ripe bananas, warm cinnamon, and the kind of love that only comes from handwritten recipes and flour-covered aprons. That moment became more than just baking; it was the beginning of my love affair with comfort food. Over time, bananas turned into my go-to muse—versatile, homey, and always waiting patiently on the counter until they’re just overripe enough to work their magic.
That passion eventually led me to explore Amish baking traditions, especially their iconic Amish banana nut bread recipe. There’s something soul-soothing about this loaf—moist, dense, and just the right amount of sweet with a nutty crunch. In this article, I’ll walk you through every step, tip, and secret I’ve learned to make the best banana bread you’ve ever tasted—using a time-honored Amish Friendship Bread Starter. We’ll cover everything from its origins to oven secrets and common mistakes you’ll want to avoid. Ready to bake with heart and heritage?
Introduction to Amish Banana Nut Bread
What Makes Amish Banana Nut Bread Special?
If you’ve never tried Amish banana nut bread, you’re in for something extraordinary. Unlike your typical banana bread, this recipe uses a fermented Friendship Bread Starter—a sweet, yeasty mix passed down from friend to friend, often over generations. It gives the bread a unique tang and a tender, moist crumb that regular recipes can’t compete with.
When I first stumbled upon this method, I was intrigued—and honestly, a little intimidated. But the moment I sliced into that golden loaf and saw the perfectly baked edges, I knew this was something I’d be making for years. It’s the kind of bread that fills your kitchen with a bakery-worthy aroma and your heart with memories of simpler times.
How I Fell in Love with This Timeless Recipe
I’d baked banana bread dozens of times before, but the first time I added a Friendship Starter, everything changed. It wasn’t just tastier—it felt personal. Like I was part of a community that shared more than recipes. I felt connected to the Amish tradition of passing down food and friendship in the form of a warm, nutty loaf.
And that’s why I keep coming back to this version. It’s not just a recipe; it’s an experience. One you can bake, share, and savor—bite by bite, memory by memory.
The Story Behind Amish Friendship Bread Starter

What is Amish Friendship Bread Starter and How It Works
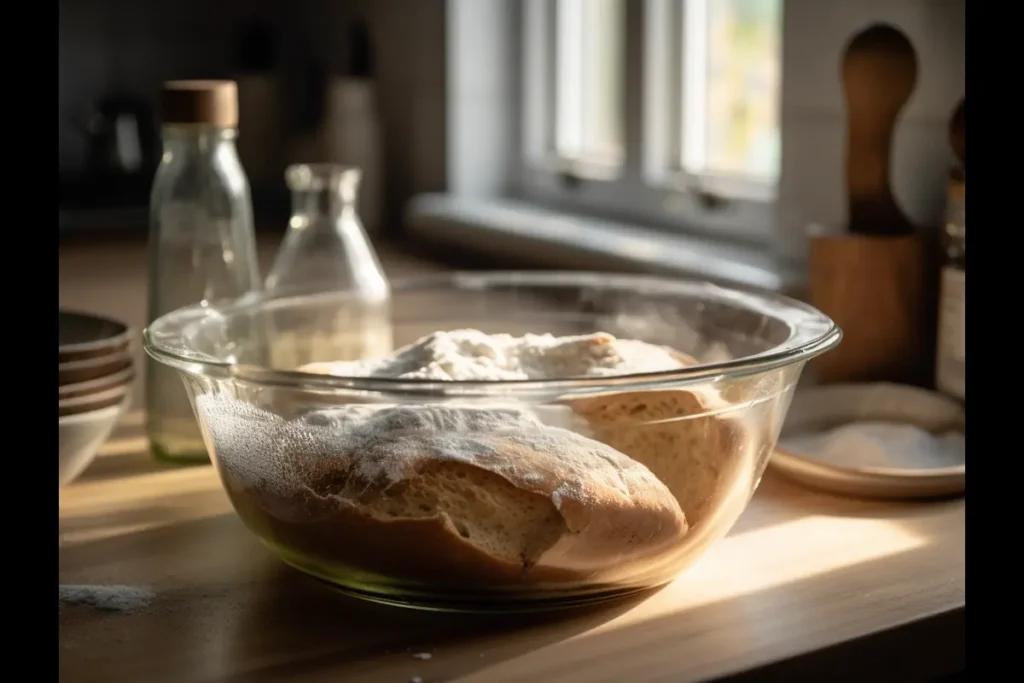
The magic of an Amish banana nut bread recipe lies in its foundation—the Friendship Bread Starter. Think of it like sourdough’s sweeter cousin. This living, fermented mix of flour, sugar, and milk bubbles away over ten days, creating a mildly tangy base that gives your banana bread its signature flavor and cloud-soft texture.
I didn’t always know what to do with a bag of starter when a friend handed me one with a smile and no instructions. But after a little research (and some baking trial and error), I realized it’s more than just a baking ingredient. It’s a gesture of connection—just like the Amish intended. Every time I pass a portion to a friend, it feels like I’m giving a warm slice of home.
Over the years, I’ve adapted my starter process slightly to fit my rhythm. You feed it, stir it, and let it grow—just like a good friendship.
Why You Should Never Use Metal with Amish Starter
Here’s a quirky rule I learned early on: never use metal utensils or bowls when mixing your starter. At first, I thought it was just a myth. But the reason is actually scientific—the acidity in the starter can react with metal, weakening the starter and possibly altering its flavor.
So now, I stick to glass bowls and wooden spoons. Trust me, it’s worth the switch. You’ll preserve the integrity of the starter and keep your bread consistently delightful.
Essential Ingredients and Variations

Classic Ingredients in the Amish Banana Nut Bread Recipe
When it comes to the perfect Amish banana nut bread recipe, a few key ingredients work together to create that irresistible moistness and flavor. Here’s what I always use:
- Overripe bananas – the more spots, the better. They’re sweeter and mash beautifully.
- Amish Friendship Starter – the secret weapon. It gives the loaf a unique flavor and rise.
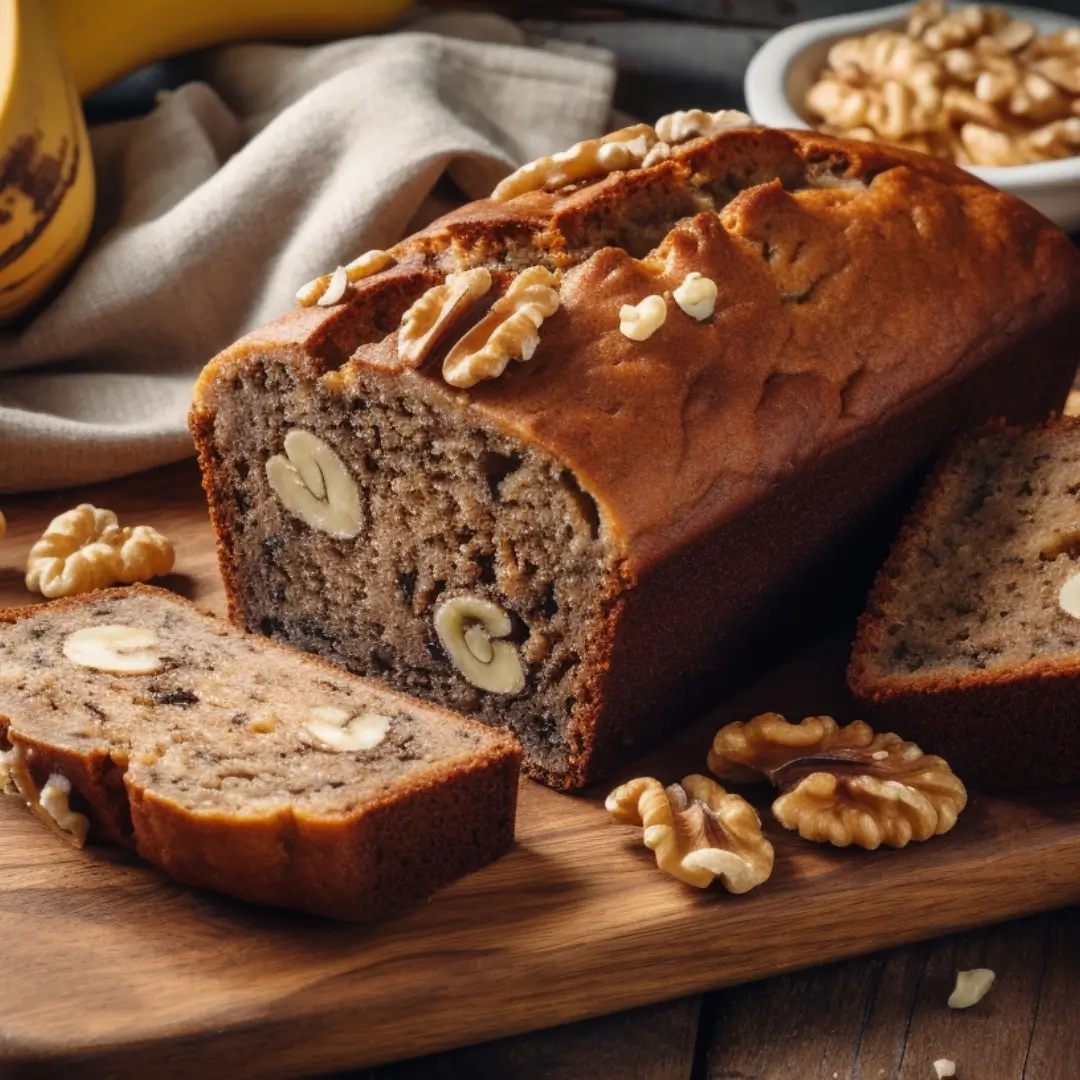
- Chopped walnuts – for that nutty crunch in every bite.
- All-purpose flour, baking soda, and powder – the dry base.
- Eggs and sugar – to bind and sweeten.
- Shortening or oil – this keeps the loaf from drying out. I sometimes swap this for melted butter or even coconut oil.
Every time I whip this up, my kitchen fills with that nostalgic aroma of home baking. And yes, I may or may not sneak a slice before it cools completely.
Why Older Bananas Make the Best Bread
Let me tell you—older bananas aren’t a flaw; they’re a feature! When bananas go brown and mushy, they get sweeter and more aromatic, perfect for baking. In fact, I often wait until my bananas are practically collapsing before I mash them into batter.
They also blend more smoothly and keep the bread tender. It’s nature’s way of saying, “Don’t waste me—I’m perfect for banana bread!”
Creative Mix-ins: From Chocolate Chips to Pecans
While the traditional amish banana nut bread recipe calls for walnuts, I’ve had fun playing around with other add-ins too. Try:
- Mini chocolate chips for a sweet twist
- Toasted pecans or almonds
- A swirl of cinnamon sugar
- A handful of dried cranberries for a tangy pop
Step-by-Step: How I Make Amish Banana Nut Bread
My Exact Ingredients List (With Optional Variations)
Every time I bake this Amish banana nut bread recipe, I stick to a base that never fails me. But I also love tweaking it when I’m in the mood to try something new. Here’s what I always start with:
- 4 very ripe bananas (mashed)
- 2 cups Amish Friendship Bread Starter
- 3 eggs
- ½ cup shortening or melted butter
- 1 cup sugar (sometimes I mix white and brown sugar for depth)
- ½ cup milk
- 2 cups all-purpose flour
- 1 ½ tsp baking powder
- ½ tsp baking soda
- ½ tsp salt
- 1 cup chopped walnuts (or pecans, if I’m out of walnuts)
Optional twist ideas:
- Add 1 tsp cinnamon or ½ tsp nutmeg for warmth
- Toss in a handful of mini chocolate chips
- Swap milk for buttermilk for a slight tang
Detailed Prep: Mixing, Folding, and Pouring Like a Pro
First things first—preheat your oven to 325°F (165°C) and grease two 9×5-inch loaf pans. I always mash the bananas and shortening together in a big glass bowl before adding the starter, eggs, sugar, milk, and nuts.
In another bowl, I sift the dry ingredients—flour, baking powder, soda, and salt. Slowly, I fold the dry mix into the wet batter. Don’t overmix! That’s the trick to keeping it tender.
I pour the batter evenly into the pans, smooth out the tops, and pop them in the oven. Depending on your oven, the loaves take about 1 hour and 15 minutes. I start checking around the 1-hour mark with a toothpick. If it comes out clean, it’s done!
Once out, I let the loaves cool for about 10 minutes in the pan, then gently transfer them to a rack to finish cooling.
Common Mistakes and How I Avoid Them
The #1 Mistake People Make with Banana Bread
If I had a dollar for every time someone said their banana bread turned out soggy in the middle, I’d have a second oven by now! The most common mistake? Using too much banana or underbaking. It’s tempting to toss in extra bananas, but too much moisture can make the center gummy.
With the Amish banana nut bread recipe, this gets trickier because the starter adds its own moisture. That’s why I always balance wet and dry ingredients carefully, and test for doneness by inserting a toothpick deep into the loaf.
How I Prevent Soggy or Dry Loaves
To avoid soggy centers or dry edges, I stick to a few key rules:
- Use room-temperature eggs and milk so everything blends evenly.
- Grease the pans well but don’t overdo it—too much oil can make the crust greasy.
- Don’t open the oven door too soon! That drop in temp can flatten the center.
- Let the bread rest. I know it’s hard, but slicing too early releases steam that should stay inside the loaf.
Also, if your oven tends to run hot (like mine), loosely tent the top with foil for the last 15 minutes to prevent over-browning.
These small adjustments make a world of difference. Once I learned them, my loaves came out perfectly golden and moist—every time.
FAQs Answered – Based on Real Curiosity
What is the number one mistake made when making banana bread?
Honestly? The biggest mistake I see (and once made myself) is overmixing the batter. It’s such a common slip-up. Once you add the dry ingredients to the wet, it’s tempting to stir until smooth. But doing that breaks down the gluten and leaves you with a dense, rubbery loaf instead of that fluffy, tender texture we all crave in an Amish banana nut bread recipe.
Instead, I gently fold the ingredients just until combined. A few lumps? Totally fine—they’ll smooth out in the oven.
What is the secret to the best banana bread?
Want the best banana bread ever? Here’s my not-so-secret trick: use extra-ripe bananas and let your batter sit for about 10–15 minutes before baking. That rest time allows the baking powder to activate and gives the ingredients time to fully mingle.
Also, don’t skip the Friendship Bread Starter if you’re following the traditional Amish banana nut bread recipe. It adds a rich, deep flavor that regular banana bread just can’t match.
Why can’t you use metal with Amish Friendship Bread?
I asked the same thing when I started out! The reason is actually simple—metal can react with the acidity in the starter. That reaction might weaken the yeast and even leave a weird metallic taste.
So now, I stick with glass, plastic, or ceramic bowls and use wooden or silicone utensils. It keeps the starter healthy and the final bread perfect every time.
Why are older bananas better for banana bread?
The riper the banana, the sweeter and more flavorful the loaf. When the bananas turn brown and spotty, their starches convert into natural sugars, making your bread taste better without needing extra sweeteners. In every Amish banana nut bread recipe I make, I wait until the bananas are just about mushy—they’re the real MVPs.
Serving, Storage, and Gifting Tips

How I Store the Bread for Long-Lasting Freshness
When I bake a double batch (which I usually do—because let’s be honest, one loaf never lasts long), I store one loaf for snacking and freeze the other for later.
To keep your Amish banana nut bread fresh for up to four days, wrap it tightly in foil or plastic wrap, then pop it in an airtight container at room temperature. For longer storage, wrap the cooled loaf in plastic, then foil, and freeze it. It keeps well for up to three months.
I thaw it overnight on the counter and warm up individual slices in the toaster for that fresh-baked feeling.
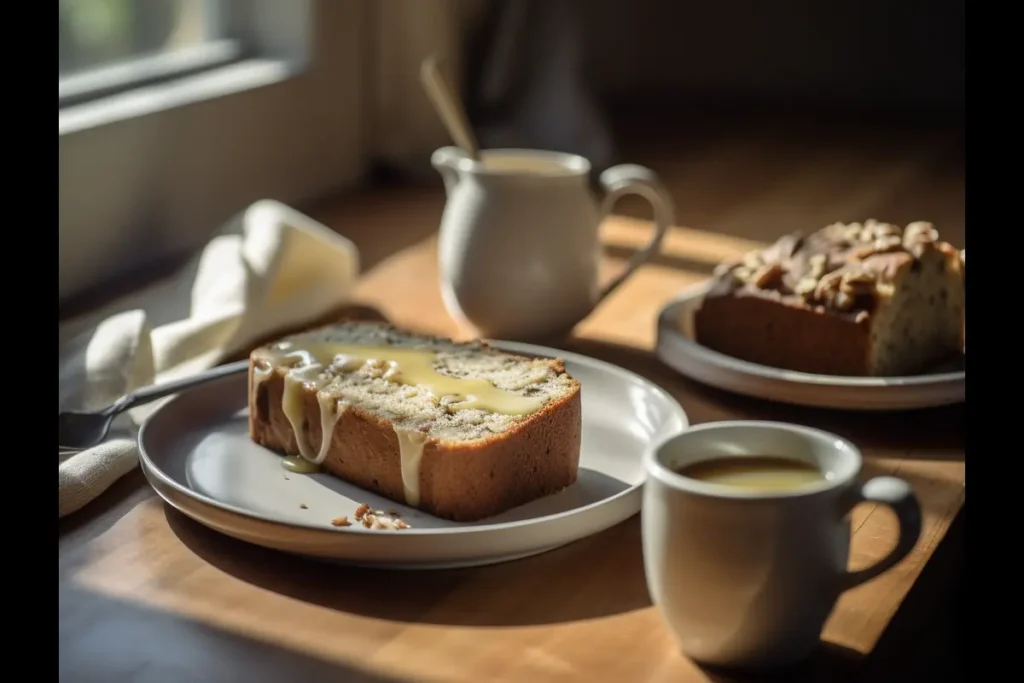
Best Ways to Serve (Toasted, With Butter, or Glazed)
This bread is incredibly versatile when it comes to serving. I love it plain with coffee, but if you want to dress it up:
- Toast slices and slather with butter or cream cheese
- Add a drizzle of vanilla glaze or maple icing
- Pair it with yogurt and berries for breakfast
- Serve it warm with a scoop of vanilla ice cream for dessert (yes, really!)
My Go-To Gifting Method: Homemade Label and All
Amish banana nut bread makes a thoughtful and tasty gift. I wrap mini loaves in parchment and twine, then add a handwritten tag with a short baking story or the date it was made.
Why This Amish Banana Nut Bread Recipe Stands Out
At the end of the day, this Amish banana nut bread recipe is more than just a loaf—it’s a legacy. From the time-tested Friendship Starter to the deeply satisfying taste of overripe bananas and toasted nuts, this bread carries a piece of tradition in every bite.
What I love most is how this recipe brings people together. It’s a gift, a comfort, and a connection all wrapped into one warm slice. And the best part? It’s super adaptable. Whether you’re going classic or getting creative with seasonal add-ins, this bread never lets you down.

